One of the most innovative and affordable new technologies on the home security market right now is smart locks. Smart locks replace or fit over the deadbolt on your door and do away with fumbling for your keys (or losing them). All you need to do is enter a keycode or present your smartphone, and the lock opens.
Let’s look at two of the best smart locks on the market and explore which one is better for your home and security needs.
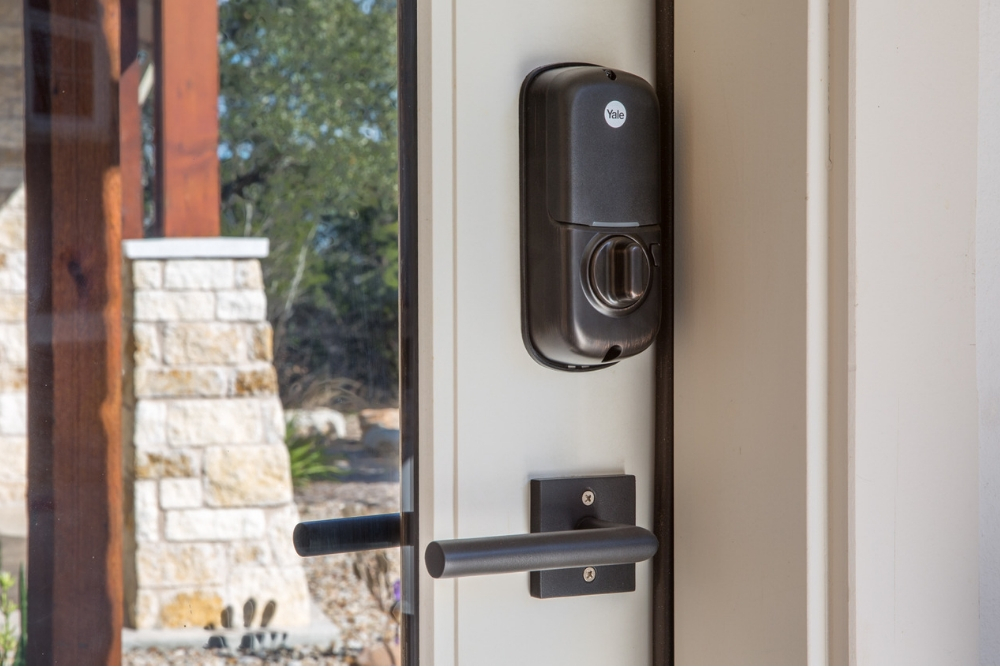
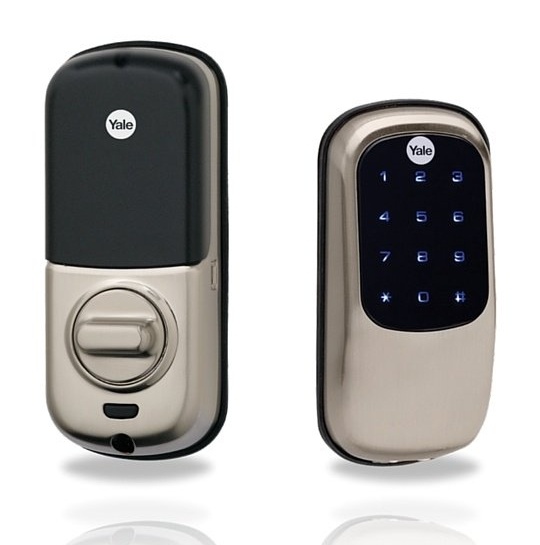
The Yale Real Living T1L Lock
Yale is a brand name that’s almost synonymous with home security, so it’s no surprise that it has entered the smart lock market.
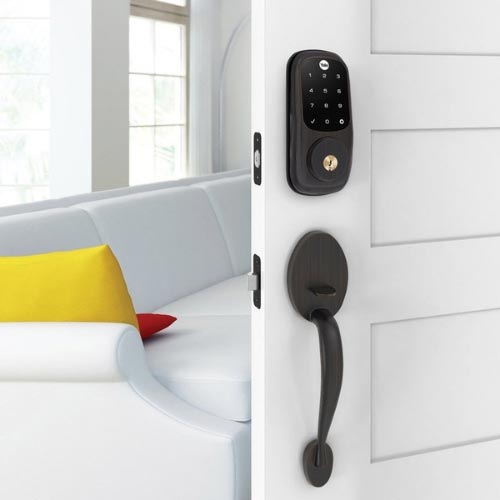
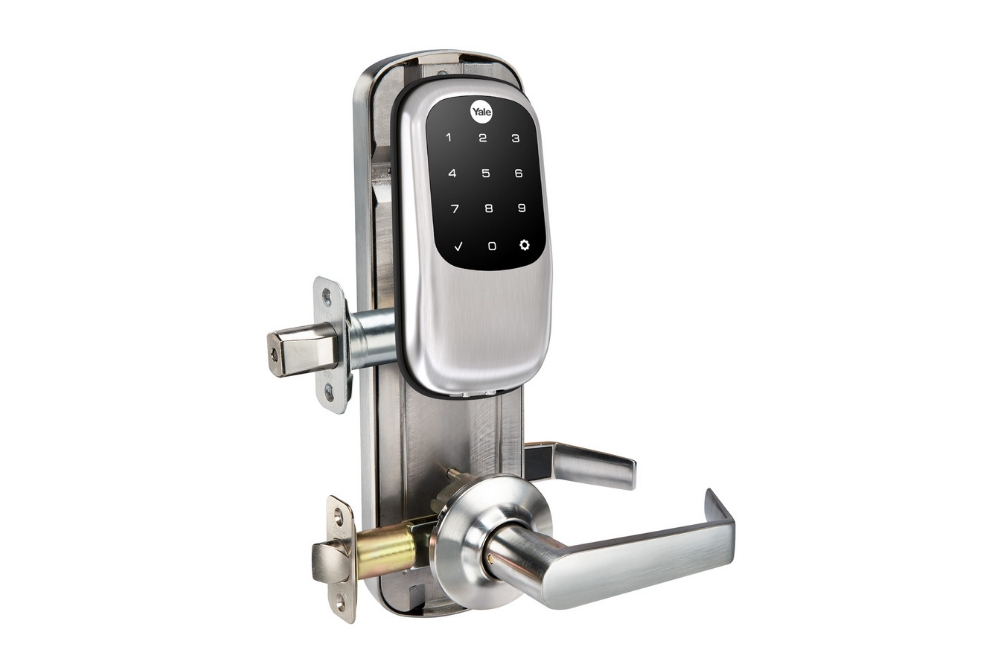
The Yale Real Living T1L Lock is a keypad that replaces your deadbolt on both sides. It’s the smallest residential keypad on the market, and it comes in three distinct finishes: satin nickel, oil-rubbed bronze, and polished brass.
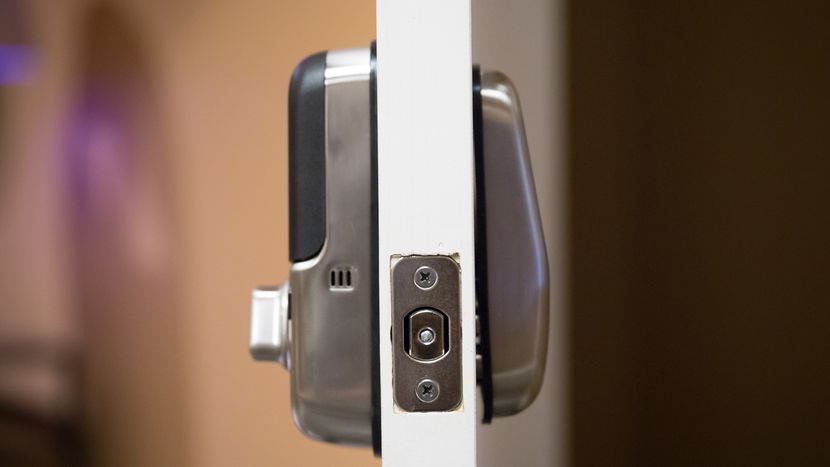
The latch is tapered—this is a more important feature than you realize. Some smart locks on the market with non-tapered latches have earned bad reviews because the locks don’t fit well into the strike plate (the receiving end on the doorframe), leading to the lock failing to close at all. A tapered latch lets the lock slide into the strike plate, thus avoiding damage and ensuring that the door will close under any circumstance.
If you’re worried about external factors (such as weather damage) messing with the lock’s internal mechanics, Yale has a solution for that. A rubber gasket around the base of both plates makes sure that the insides are fully secured. No need to worry about rain damage or a liquid spill shorting out your smart lock and making your home inaccessible.
Installing the Yale T1L is pretty simple and takes just under half an hour. The box comes with illustrated instructions, and the lock itself even provides audio prompts. Once the lock is fitted in the deadbolt slot, you need to program the lock. It’ll prompt you to enter a master code, and you can then enter up to twenty-five user codes to permit entry.
Entry and exit with the T1L are controlled by your keycodes—there’s no need to mess with a physical key. When people come over or check on your house while you’re away, you can just give them a keycode rather than hiding keys under the mat and worrying about lost keys.
The lock’s interface is simple enough to use: The keypad lights up when you give it a tap, and then you enter the keycode to lock or unlock the door. The lock also has a handy one-touch lock; just close the door and tap the inside screen, and the door locks easily.
If you’re worried about the batteries running out unexpectedly, you can rest easy. The T1L comes with four AA batteries that last approximately a year and will give you a noticeable warning when they’re running low.

Yale offers another solution if you’re desperate: If you touch a 9-volt battery to the contacts on the underside, that’ll power the T1L long enough for you to enter your keycode and get inside. If you’re going out the door, it’s even simpler: The lock features a thumb-turn knob for manual opening.
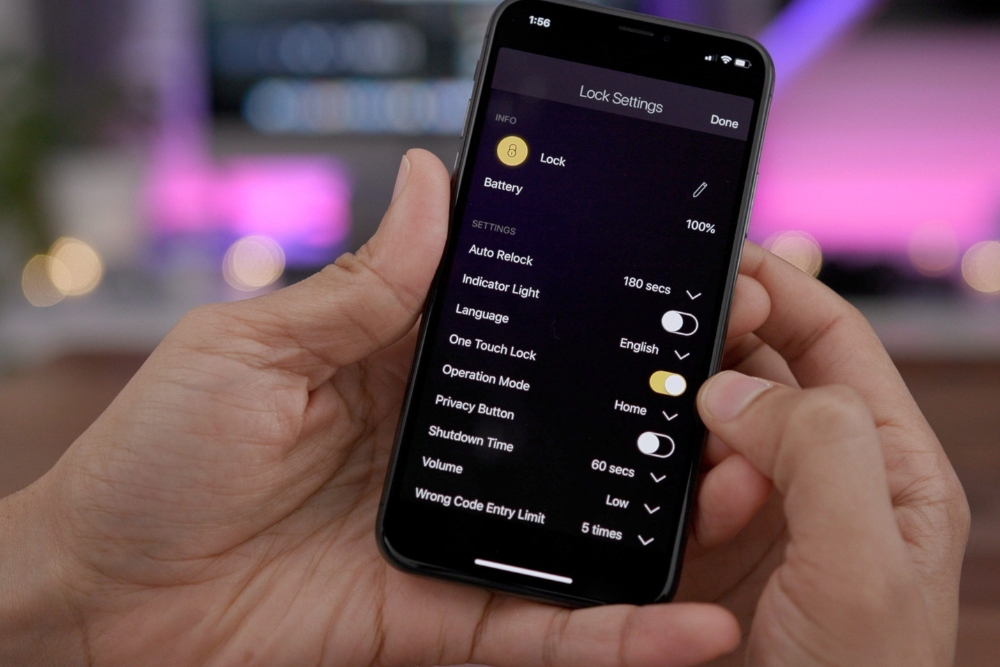
For people who want to integrate the T1L with smart home technology, the lock is compatible with Z-Wave. A smart home hub like the Samsung SmartThings or the Logitech Harmony will let you take advantage of a few more features, including remotely locking or unlocking the T1L. And that just scratches the surface of its features: It can also integrate with other Z-Wave smart devices you’ve installed.
You can set the lights to turn on when the door is unlocked or set your security cameras to record a 30-second clip when you lock your door. You can even set a lock schedule for when you’re sleeping or going to work or set auto-unlock for when your phone comes in range of the lock.
The main downside of the T1L is that it doesn’t integrate with any other network besides Z-Wave. It has no Bluetooth connectivity, no smartphone app, and no integration with the Amazon Echo or Google Home. If you’ve got a Z-Wave home hub, then you’re in business; if not, then the keypads will be the extent of the lock’s features for you.
Another smaller downside of the Yale T1L is that programming the keycodes is not intuitive. Programming the T1L requires you to work with the lock directly, and it’s honestly a tedious exercise. This downside only applies to the setup process, of course.
The T1L is an incredibly intelligent and feature-packed smart lock that’s perfect for houses with a Z-Wave smart home hub so the T1L can seamlessly introduce utterly futuristic conveniences to your home. However, if you’re not willing to set up the Z-Wave system or if you use other smart home systems, then the T1L may not be for you.
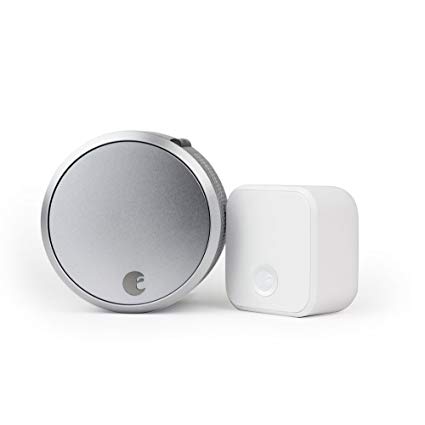
The Chunky Aluminum Knob: August Smart Lock Pro
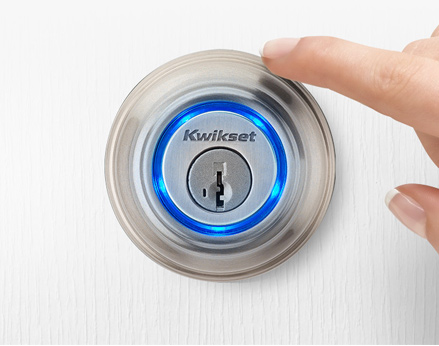
The August Smart Lock Pro replaces the inside portion of a single-cylinder deadbolt, leaving the outside of the lock the same, meaning your keys still work on the deadbolt. This leaves the outside lock vulnerable to lockpicking, but the Smart Lock Pro has other features to combat that.
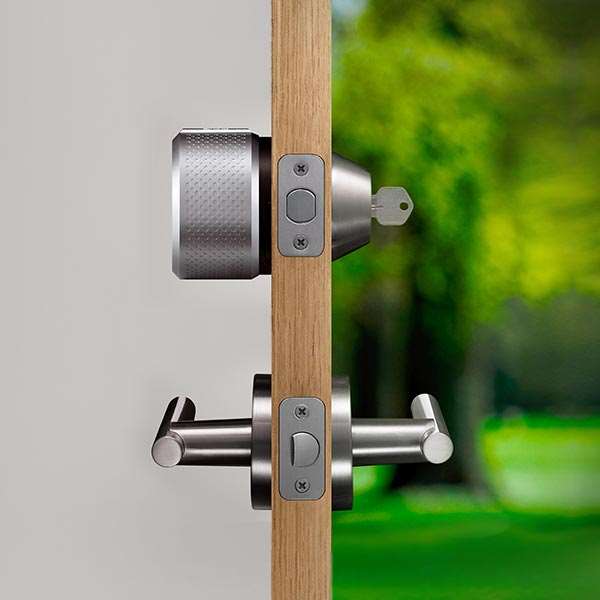
Installation is simple: All the required parts come with the box, and the only other thing you’ll need is your Philips screwdriver. Simply unmount the inside half of your deadbolt, screw in the mounting plate, attach the Smart Lock Pro’s shiny aluminum knob, and you’re done.
Once the lock is installed, you can select your settings on the August app on your phone, and you can even have the app guide you through the installation process.
The Smart Lock Pro has several features to make your life that much easier. Automation lets you adjust when the lock engages; you can set it to auto-unlock when you’re within 200 feet of the door so it’s open when you get there. The Smart Lock Pro will also alert you if the door is locked or unlocked, so if you accidentally leave the door ajar, it’s going to let you know!
When friends or family come to visit, the app lets you provide them with virtual keys. Just send these virtual keys to them, and the Smart Lock Pro can detect which phones have permission to enter and let them in.
The Smart Lock Pro has an advantage over the Yale T1L in integration with smart home devices. It can link to Bluetooth, Apple HomeKit, and Z-Wave Plus, as well as its own August ecosystem. If you integrate it well with other smart devices, you can live in a highly automated smart home tailored to your day-to-day needs.

The August Smart Lock Pro is powered by four AA batteries that run out of juice in about a year’s time. You’ll be notified when the batteries run low, and if the batteries do run dry, you can still open the door with a key, so you’ll never be left out in the cold.
There is one potential downside to the August Smart Lock Pro: The lock cylinder is still present, which means the lock may be vulnerable to lockpicking. You’ll be able to see the lock was opened when you check in, but that won’t stop a prospective burglar.

This also means that you’ll still have a key to worry about, and should some enterprising thief manage to get ahold of your key, the Smart Lock Pro won’t stop them from entering your home. That being said, many people might not consider this a downside because the lock cylinder allows a fail-safe to the smart lock mechanism.
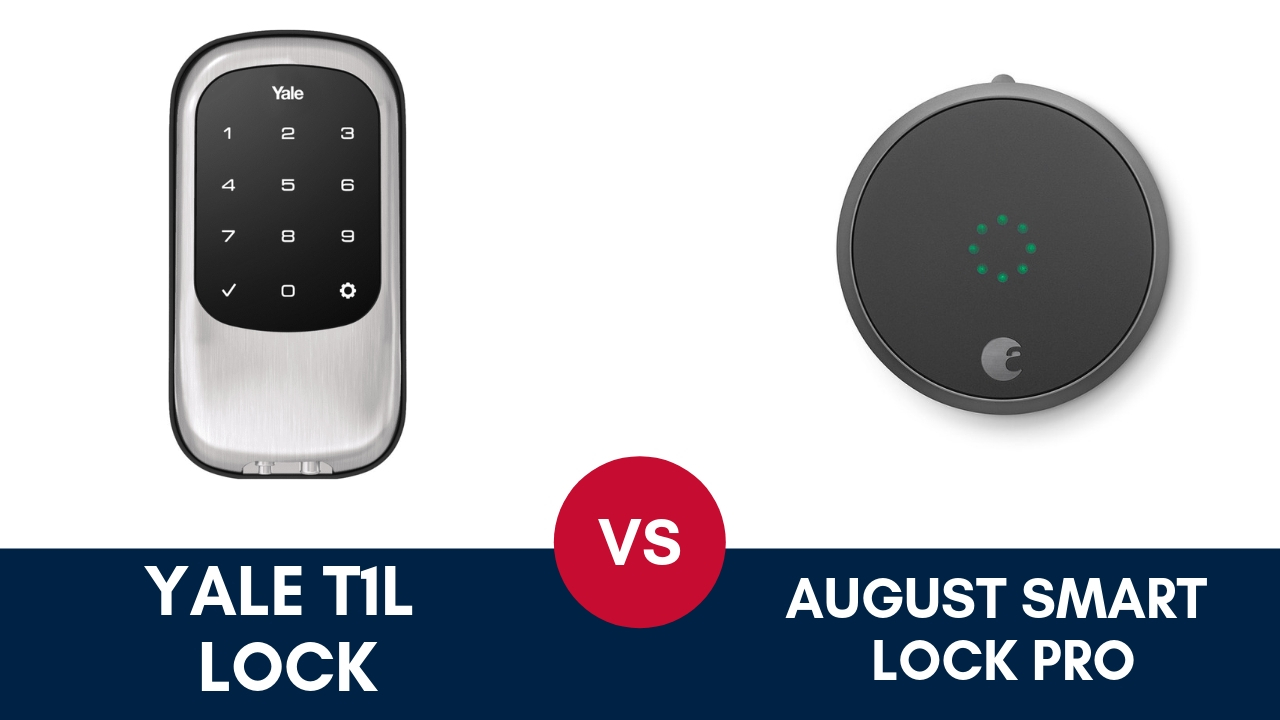
Should You Buy the Yale T1L or the August Smart Lock Pro?
Both locks provide excellent service in securing your home. While the Yale T1L has a beautiful simplicity, it’s not as user-friendly or as innovative as the August Smart Lock Pro.
And while the Smart Lock Pro is an easily integrated upgrade for anyone looking for an extra layer of security and convenience, its lock cylinder doesn’t provide quite the same level of security as the T1L.
If you value tight security and you’re happy to set up the Z-Wave system, the T1L is perfect for you. But if you’re looking for a simple and easy smart lock that you can use in addition to a trusty set of keys, then the Smart Lock Pro is for you. Your choice should be based on what you value for your home.

![[Best Tips 2026] Winter Home Maintenance Checklist](https://alarmnewengland.com/wp-content/uploads/pexels-photo-1652423-1.jpeg)