How to Install Your Honeywell Lyric Thermostat

Last Updated on March 4, 2022 by Alarm New England

Ready to install your new Lyric thermostat? Here’s our step-by-step guide:

  1. Before you start, look at the walls surrounding your Lyric thermostat to see if you’ll have to cover up any holes or damaged paint that will be exposed when you install the new thermostat. Now’s the time to make those repairs.
  2. Make sure your package contains the following: thermostat, wall plate, mounting screws, back plate. The wall plate (pictured, second from left) is optional, allowing you to cover marks left by the old thermostat. lyric get started.png
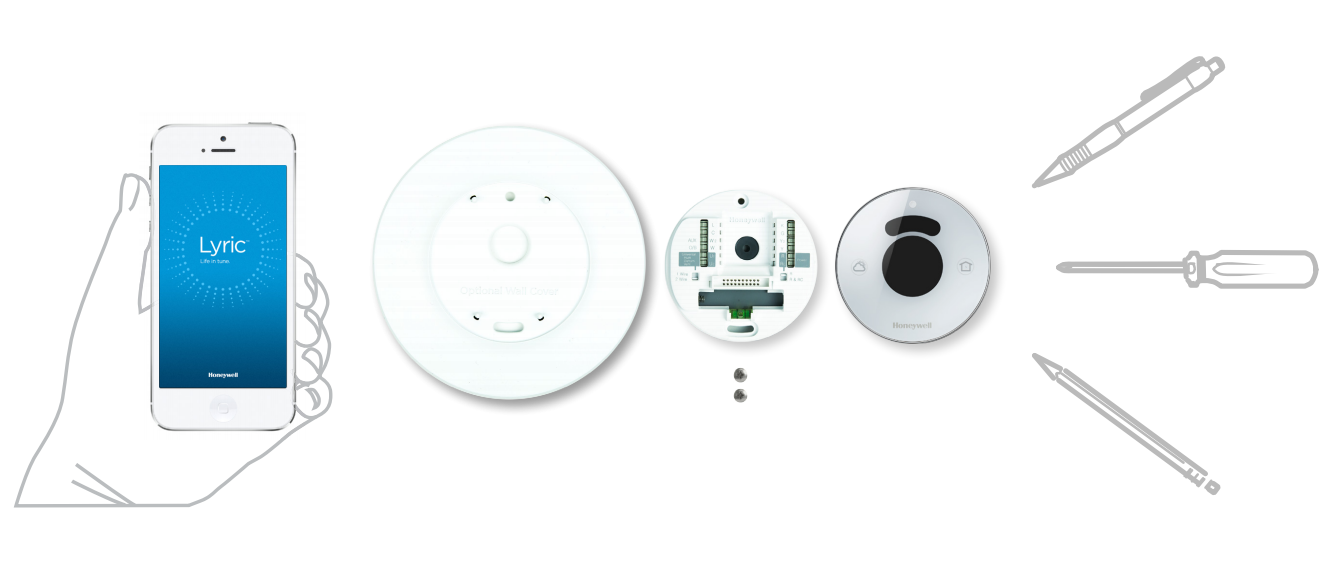
  3. Have the following tools close at hand:
    – Phillips-head screwdriver
    – Small screwdriver or pen
    – Pencil
  4. Locate your circuit breaker and turn off your heating/AC system. Verify the power is off by going to your thermostat and trying to increase and decrease the temperature. If the system responds to the change in temperature, that means it’s NOT powered off. circuit breaker2.png
  5. Now that your system is powered off, you can remove the face plate from your old thermostat. Most will simply pop off without a need for a screwdriver, but if the wall panel is mounted by screws, unscrew it.
  6. You should see a bunch of wires. Every thermostat uses a different wiring setup, so it’s important to know which wires are compatible and which aren’t. Take a picture of the configuration with your smart device for later reference. If they don’t already have labels, label the wires with some tape. wiring.png
  7. Note the voltage of your system.
    Do you have thick black wires connected with wire nuts?
    Is your thermostat 110 volts or higher? If you answered yes to either of those questions, you have a line voltage system. Unfortunately, the Lyric thermostat is NOT compatible with this system, you can only use thermostats specifically designed for line voltage systems.
  8. Unscrew the rest of your thermostat (the back plate and wall plate) from the wall.
  9. Now you can begin installing your Honeywell Lyric thermostat.

    Bundle the wires into one group, then feed the wires through the base plate and screw your thermostat into the wall.

    Feeding them through the wall plate is much slower.
  10. Make sure the thermostat is level by observing the small green bubble. If the bubble is in between the two lines, you’re good to start handling the wiring.

    thermostat levels.png

    Also, insert the included AAA battery if you haven’t done so already.
  11. Screw the Lyric’s wall plate into the wall. The included screws are specially designed for the Lyric thermostat and are self-anchoring.
  12. Download the Honeywell Lyric app to view a diagram of where your wires need to go. Everyone has a different wiring situation, so the app is a great resource to help you out. The Lyric Round is different from the Honeywell WiFi thermostat in that the Lyric doesn’t have an A/C wire. It’s more similar to the way you install the Nest thermostat.
  13. To insert wires, slide each wire into its corresponding terminal and check that it is secure by gently tugging. Wires should go into the terminal about a quarter of an inch.

    wiring2.png

    To take out wires, gently push down on the terminal tab(s) with your pen or small screwdriver as you pull the wire.

  14. The Lyric app will also tell you whether each of the sliders on the left and right should be up or down, depending on your R wire installation.
  15. Once the wires are in place, put the face plate back on by gently pressing it to the wall plate.
  16. Return to your circuit breaker and give power back to your heat/AC system. If everything works correctly, the Lyric will glow as it starts up. The startup process takes around 3 minutes.
  17. When you see your unique network name, press the “OK” button to begin configuring your thermostat. Use the Lyric app on your smartphone or tablet to do so.

    wifithermostatconnecting.png
    If you do not see a unique network name, press and hold the Weather icon on the left for 5 seconds to reset.

  18. If you have an Android device, locate the Lyric’s network name on the list within the Lyric app. For iOS devices, connect to the thermostat by looking through your wireless networks and connecting to the network belonging to your Lyric device.

Honeywell Lyric Thermostat Features

Springtime weather in New England can get crazy sometimes. One day it’s a toasty 70 degrees and people are wearing shorts and flip-flops, and then the next day, everyone is putting on their snow boots and donning thick winter parkas.

Old thermostats just can’t handle that kind of rapid change in weather, especially when we aren’t always at home to adjust the temperature ourselves.

The result? High heating bills and wasted energy.

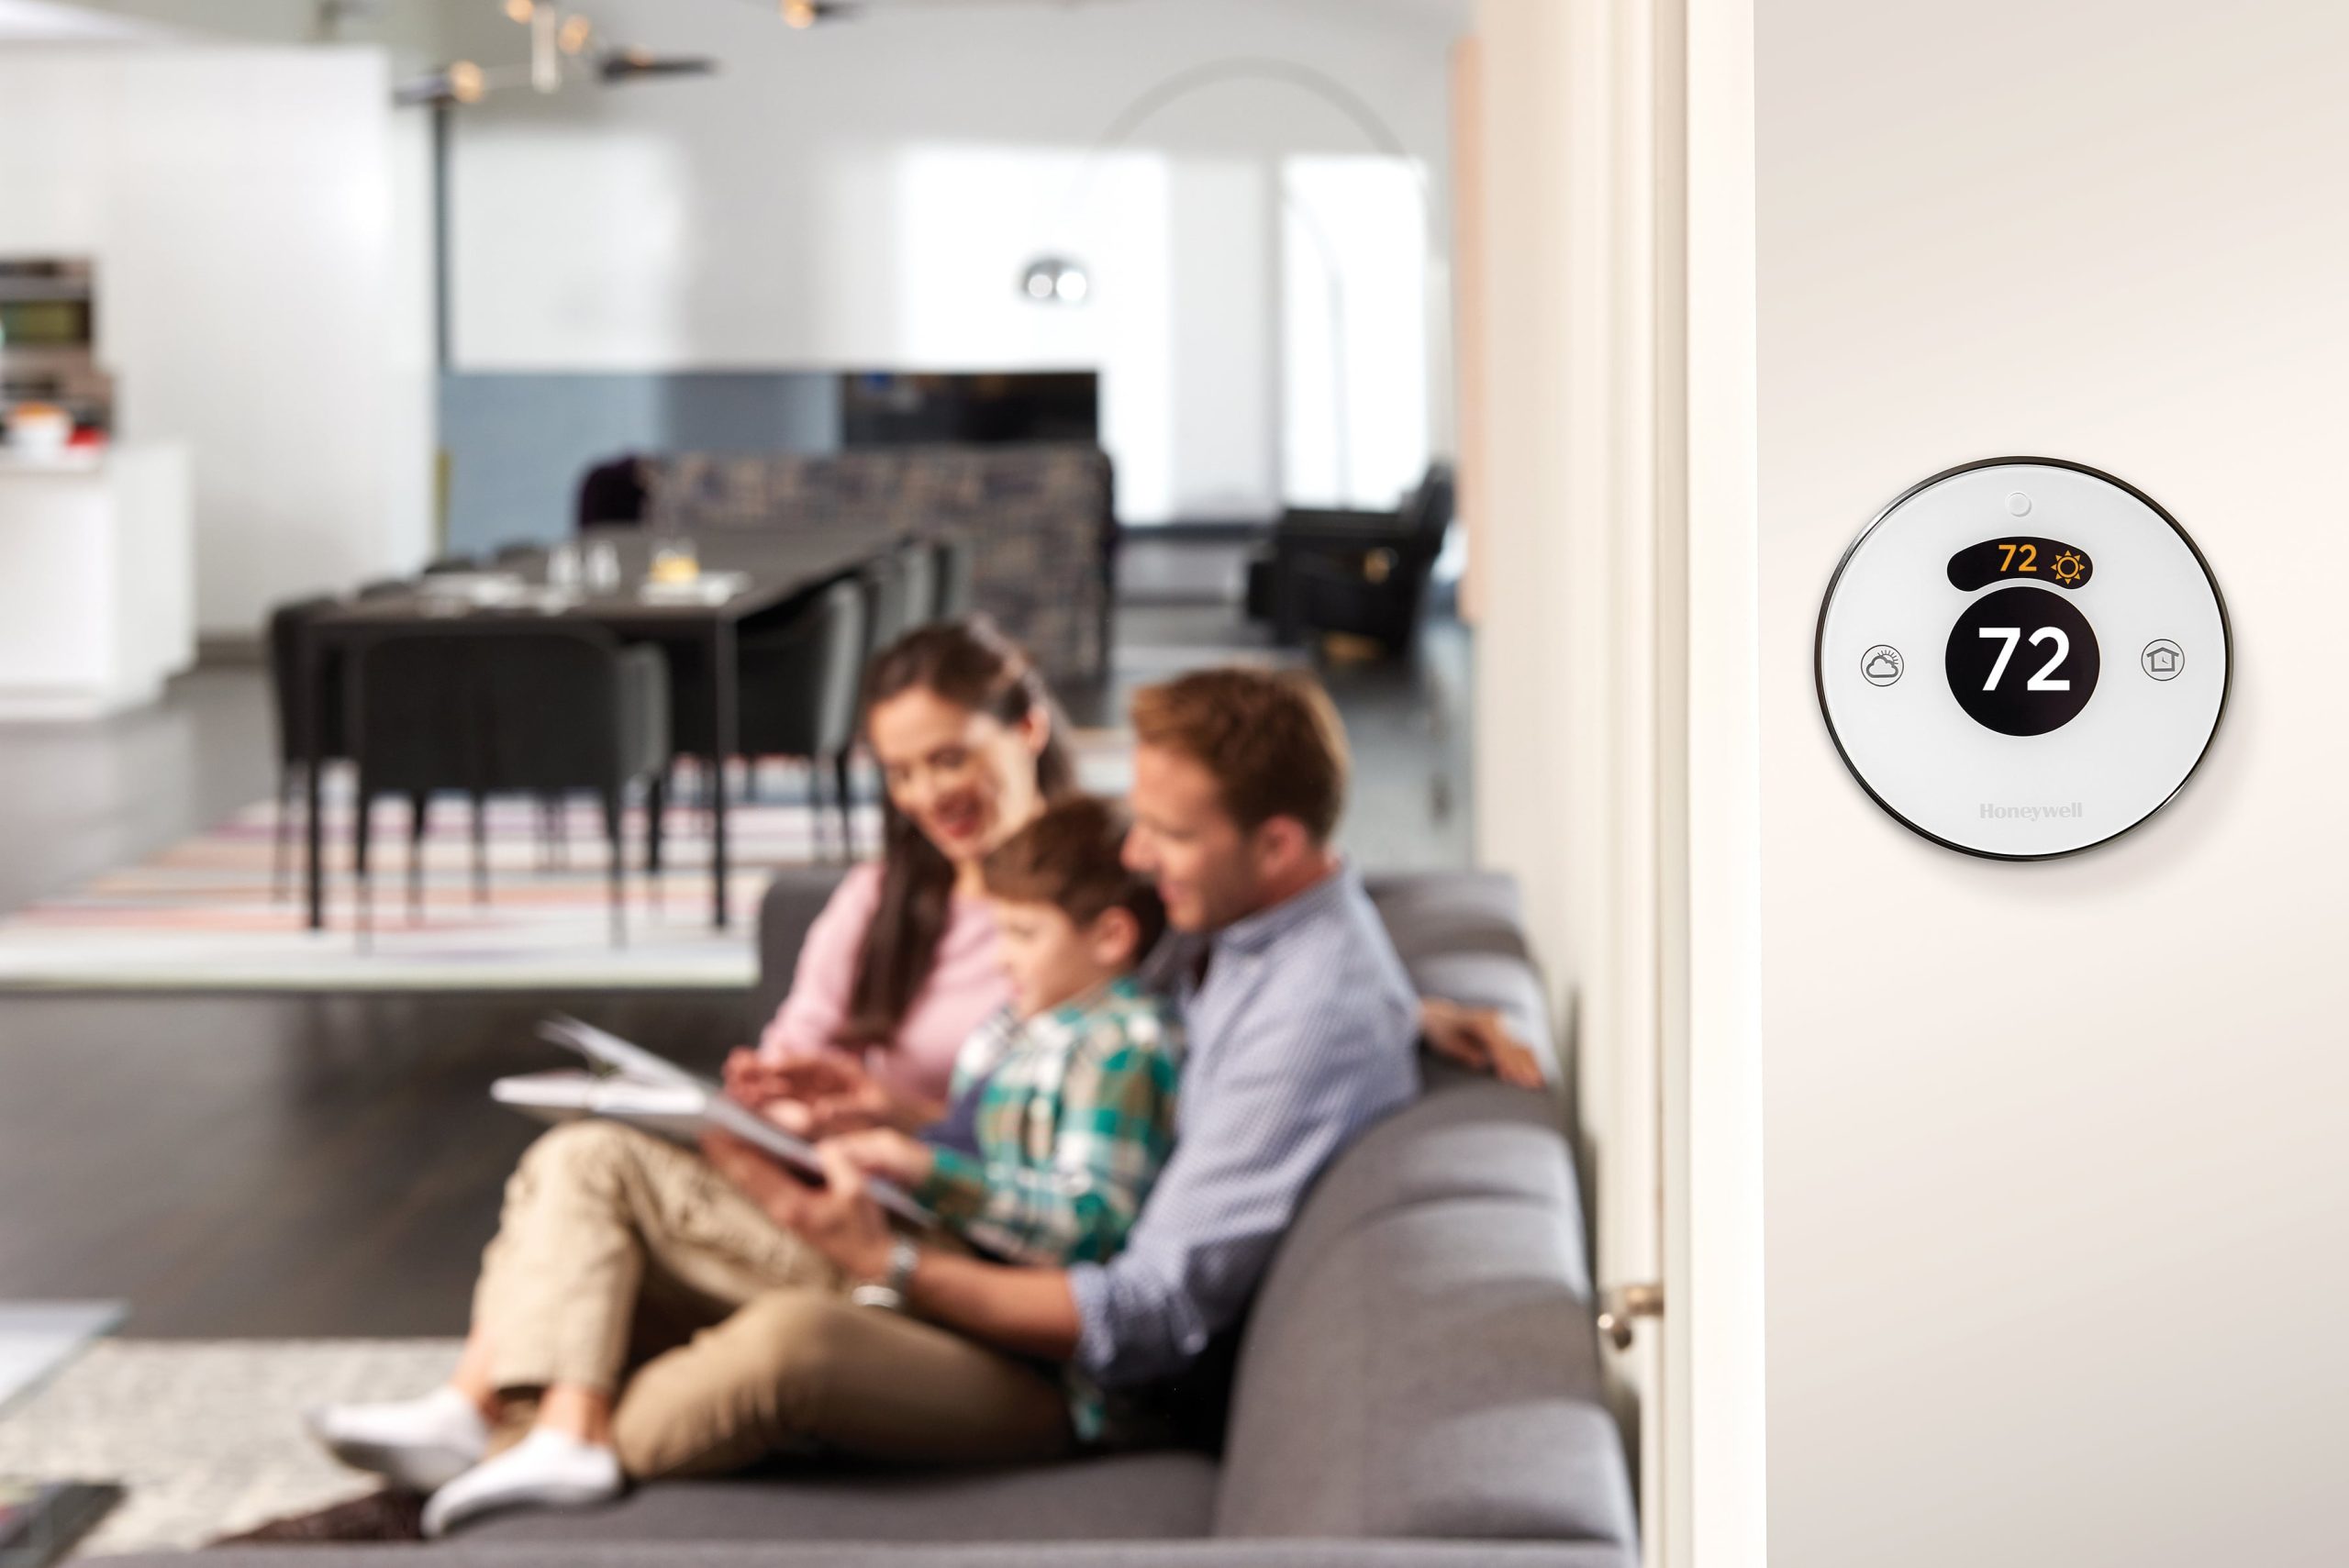
TheLyric smart thermostatcan help. Consider these incredible benefits:

  • Honeywell Home App: The Lyric thermostat fully integrates with your security system through a free app on your smartphone or tablet.
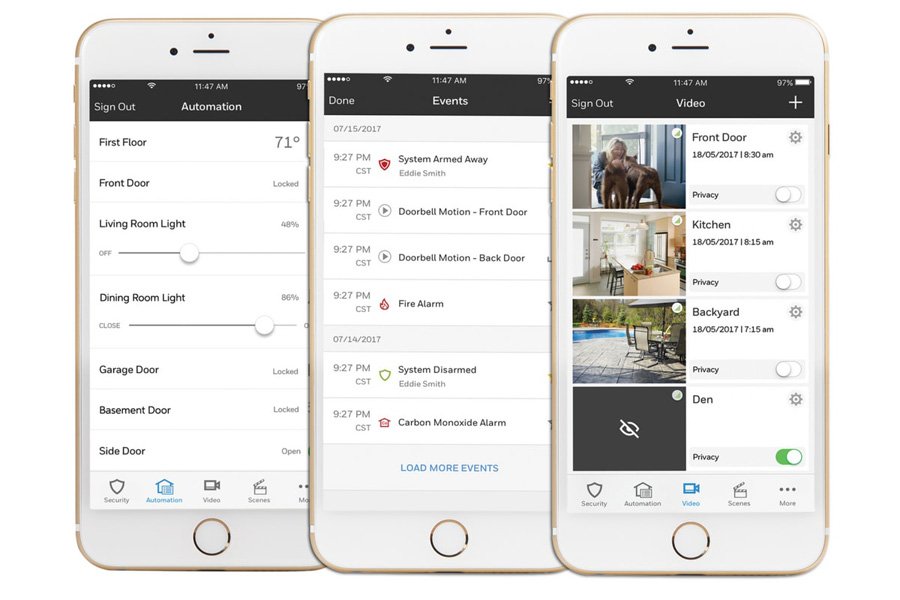
    Total Connect 2 compress1
    The app allows you to save easy templates for common occurrences that you can use each day, like a sequence for leaving home to go to work or another as you’re about to go to bed.

    You can also receive push notifications reminding you of filter changes, notifying you of high and low humidity levels, and warning you of extreme indoor temperatures.

  • Location-Based Temperature Control: Lyric thermostat uses the GPS location on your smartphone to know when you’re away from home and saves on energy in the process.

    geo-fencing-total-connect
    Through Geofence technology, the thermostat anticipates your return and helps make sure the climate at your home is comfortable upon arrival.

    You can set this for any member of your family should your children be getting home earlier than you are.

  • Humidity and Temperature Control: It’s not the heat but the humidity that will get to you. For this reason, this savvy security equipment views and adjusts the humidity levels in your home.

    This way 70° always feels like 70°, and you reduce the risk of warping wood furniture, antiques, or musical instruments.

For additional help installing your thermostat, contact your local HVAC company to assist you.

How to Rekey a Lock

Last Updated on March 4, 2022 by Alarm New England

There are several reasons why you might want to rekey your locks, for home security purposes or to consolidate the number of keys you need for your home.

When considering rekeying a lock you may think that your only option is to call a locksmith. But, if you know your way around a toolbox, you can probably do it yourself.

What Does Rekeying a Lock Mean?

Traditional locks found on doorknobs and deadbolts are called pin and tumbler locks. These locks use multiple springs and pins that allow a matching key shape to unlock the lock. For a key to work in a lock, its configuration must match that of the lock.

So, when you want to rekey your lock, you will need to disassemble the lock and remove and replace the existing pins with new ones that match the new key’s configuration.

When Should You Rekey a Lock?

One of the main reasons for performing a “rekey” is to reduce the number of keys you need for your home. Maybe it happened over time, or with various owners, or an evolution of different locks being added, but you can end up with a lot of different keys for a single home.

Having a single key that will open all of your locks is much more convenient than having to deal with several keys.

Improving Home Security

Another reason to rekey your locks is for better home security. New homeowners often rekey their locks after buying the home to make sure that they are the only ones with working keys.

Over the life of a home, keys have likely been duplicated for family members, friends, and service professionals. So it’s a good idea to “wipe the slate clean” and ensure that you know exactly who has access to your home.

New Construction

The same goes for newly-constructed homes. Keys are frequently given to contractors during the construction process, and unfortunately, you never know who could have gone out and made a copy.

Rental Properties

It is also standard practice for landlords who are renting a home or apartment to rekey the locks after the previous tenant moves out. This provides both the landlord and the new tenant peace of mind that the lock is new and no one else has a key.

When to Replace vs. Rekey a Lock

You may be wondering if you should replace your lock instead of rekeying it. There are benefits to both.

Rekeying a lock is typically more cost-effective than replacing the lock.

In some cases replacing your lock is a necessity. For instance, if you lost a key, the lock is damaged, or you are unable to rekey it.

Replacing a lock is more expensive and may not perfectly match the look of the other locks in your home. However, the main advantage of replacing a lock is that you are getting new hardware, the opportunity to customize its appearance as well as upgrade your level of security with a more advanced lock.

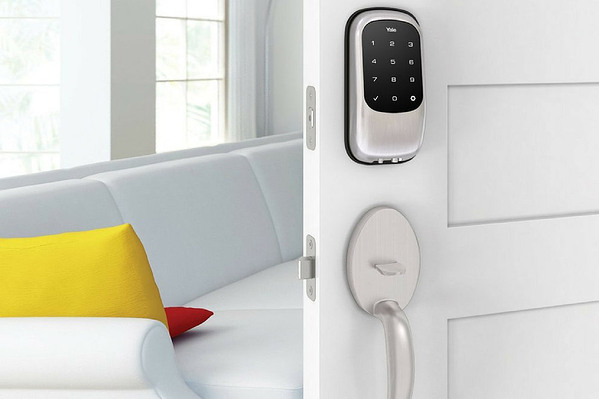
Keyless deadbolts or smart locks are a new technology that is becoming increasingly popular among homeowners. Smart locks do not require the use of a key, but are controlled electronically through your smartphone.

yale smart lock1compress

Another reason you may want to replace versus rekey, is if you want to use the same type of lock by the same manufacturer throughout the house.

Trying to match all of your locks to one of the older locks in your home may be difficult since style and security features change over time. To create “universality” between locks, it makes sense to start with a quality lock and replace them all at the same time.

How to Rekey a Lock

You have a few options when it comes to rekeying a lock.

Hire a Locksmith

Yes, it will be more expensive, but you can rest assured that the job will be done professionally and correctly. Most locksmiths charge a flat fee for their service and then add on an additional cost for every extra lock that needs to be rekeyed.

If you are looking for a professional rekeying, but don’t want the expense that comes with a house call, you can take your lock off from your door and bring it to the local locksmith or hardware store to be rekeyed.

This is a less expensive option, it just requires that you remove the whole lock from your door and bring in the corresponding key.

Purchase a Rekey Kit

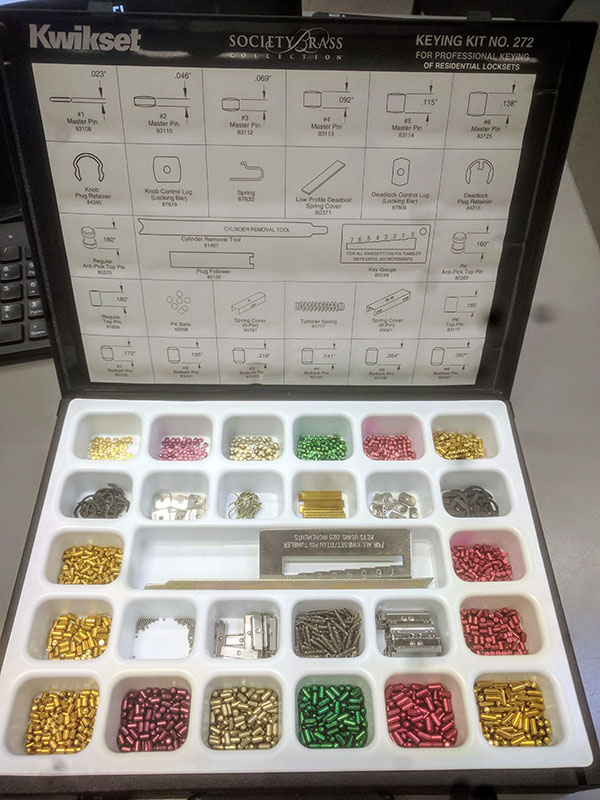
The other option is to purchase a rekey kit made specifically for your brand of lock and do the job yourself. A rekey kit will cost you anywhere from $10 to $25 per lock, making it relatively cost-effective.

rekey kit kwikset

These kits can be purchased online or at your local hardware store. They include everything you need to rekey your lock yourself. If you are confident in your do-it -yourself skills, this is an excellent option to save money.

Each lock brand is different, but the concept behind rekeying is the same. Here are the basic steps on how to rekey a lock:

  1. Remove the knob by using the wire tool included in your kit.
  2. Remove the lock cylinder housing by pushing the cylinder out the back of the knob.
  3. Using the included retainer ring tool, push the tool against the retainer ring to pop it off.
  4. Remove the cylinder plug from the cylinder by using the old key to turn it to the left or right.
  5. Reassemble the lock by matching the colored pins to the color code in the kit. This will require some tiny pliers or tweezers and particular attention to the included instructions.

Whether you choose to rekey your lock yourself, have it done professionally, or replace it, the benefits of having new locks and fewer keys are convenience and better home security.

X

GET FREE QUOTE

What are you protecting?*

Step 1 of 4

Is your property currently monitored?*

Step 2 of 4

What size is your property?

Step 3 of 4

Who is this personalized quote for?*

By clicking this button, you consent for Alarm New England to use automated technology to contact you at the number provided. This consent is not required to make a purchase from us.

Step 4 of 4