If your home caught fire tomorrow and was completely burned to the ground without any chance of rescuing your property, what would be the three most valuable items that you lost?
If a burglar broke in while you were away on vacation, what are they likely to walk off with?
Frightening, isn’t it? Sometimes we don’t realize just how vulnerable our property is until tragedy strikes.
No one ever plans to have a home fire (arsonists excluded), but when they do strike, the homeowners who suffer most are the ones who were unprepared. In an instant they’ve lost valuable collectibles, their car title, jewelry, cash, digital data, and more. And the same can be said of burglary.
That’s where home safes come in. They protect your most valuable assets from the most dangerous threats. If you’re looking into how to buy the best home safe, you’ve basically got to answer two questions:
- What am I trying to protect?
- What am I trying to protect it from?
Safes are designed to keep your valuables defended against the two dangers we’ve already identified: fires and burglars. But not all safes are secure against both, and not all safes are created equal.
In this in-depth guide to buying the best home safe, we’ll look at the different types of safes on the market as well as the spectrum of security they provide.
Fire-Resistant Safes
Most safes are at least designed to resist fires. If you only need to secure property that wouldn’t be of much value to a thief, such as contracts, wills, and other important documents, then a fire-resistant safe will suit you just fine.
These safes are designed to resist high temperatures, but can be broken into pretty easily by a burglar with moderately decent tools. The walls are thick and hollow (to prevent heat transfer), and the safe is filled with fire resistant insulating material.
Fire Safe Standards
The protection provided by any model of safe from a fire is typically indicated in hours, an indication of how many hours the safe can withstand an external temperature of 1700 degrees Fahrenheit without the inside heating to the point that paper could burn (350 degrees).
Underwriters Laboratory (UL) is one trusted organization that sets such standards, and a home safe should have a minimum UL rating of at least one hour. Two and four hour rated safes are also available, but one hour is usually enough for most home safes.
While paper burns at 350 degrees, objects like tapes, DVDs, CDs, hard disks, and USB drives can be vulnerable as low as 125 degrees. If you need to protect items such as these, you may want to invest in a special media safe.
While they can run two or three times the price of your standard issue fire safe, they are rated for much higher temperatures and are also designed with special moisture-resistant insulation.
So if you’ve got precious home movies, an autographed copy of Joe Versus the Volcano, or years of backed up computer data to protect, a media safe might be the best home safe for you.
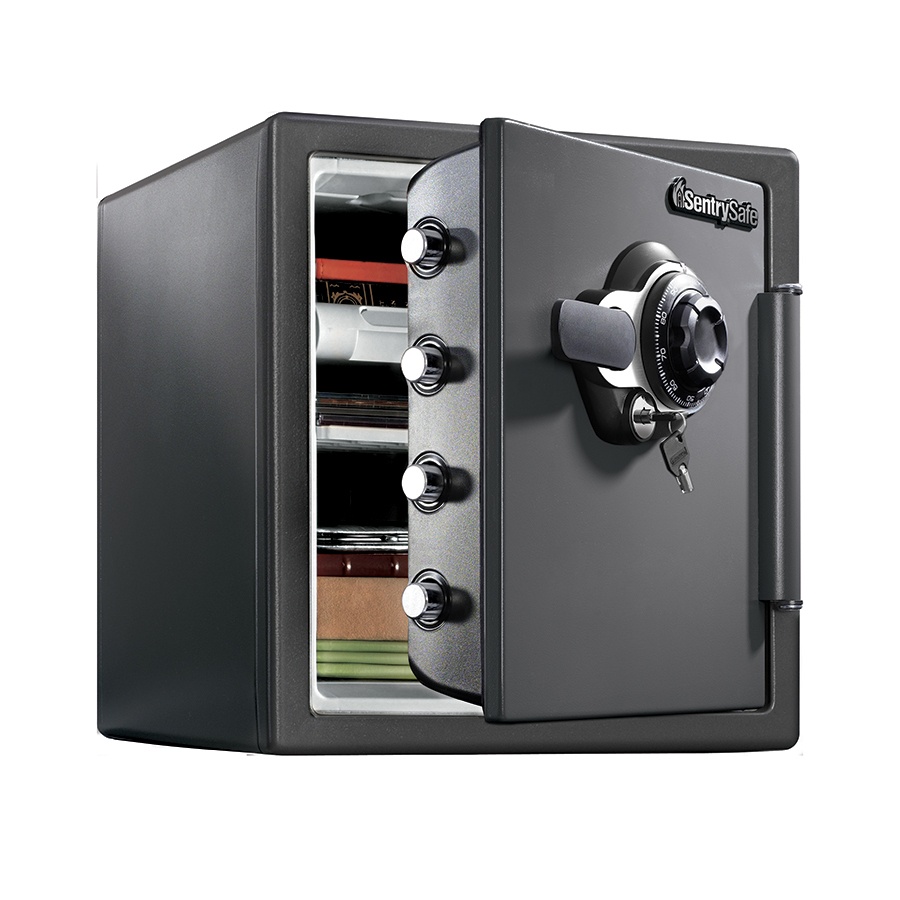
SentrySafe SFW123DSB 1.23 Cubic Feet Combination Fire-Safe
This is one example of a popular fire-resistant safe to give you an idea of some of the typical specifications. Featuring a combination lock with a tubular key and four live-locking bolts, the SentrySafe is designed to provide security for years upon years.
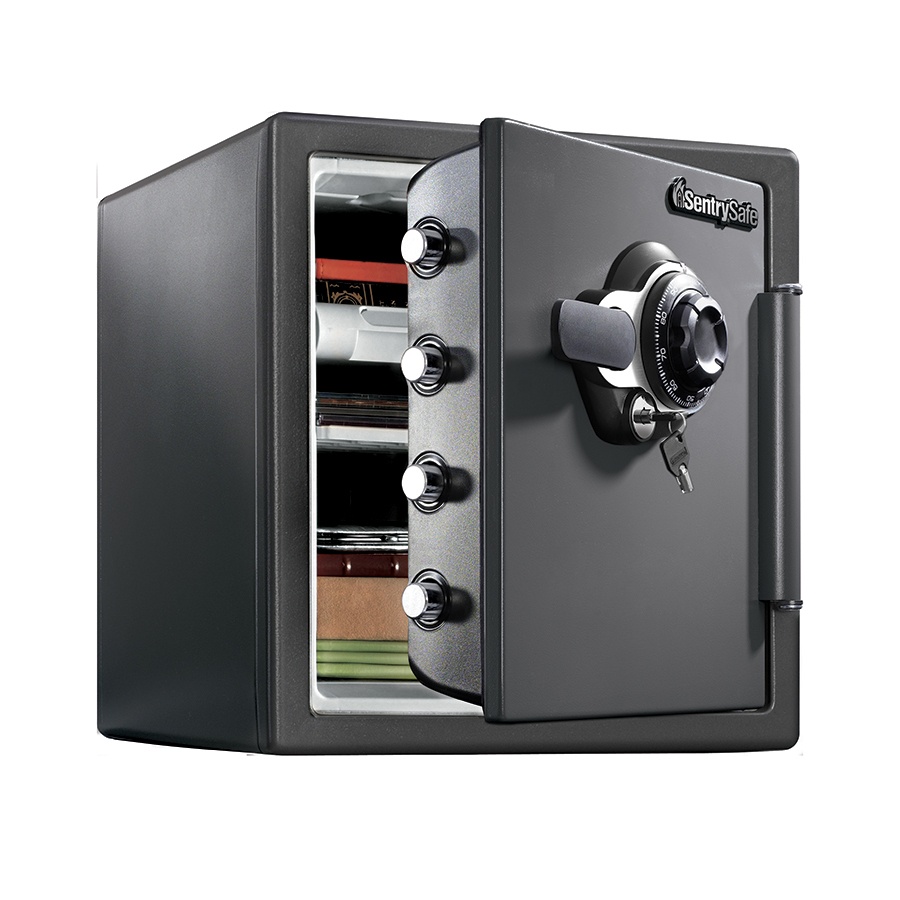 Floor bolting hardware is included for additional security, but please note that mounting requires you to drill holes in the mounts, which will reduce the safe’s flood resistance.
The SentrySafe offers superb heat resistance for all of your most precious media, bearing a UL and ETL (Edison Testing Laboratories) 1-hour rating (up to 1700 degrees) for DVDs, CDs, USB drives, and memory sticks.
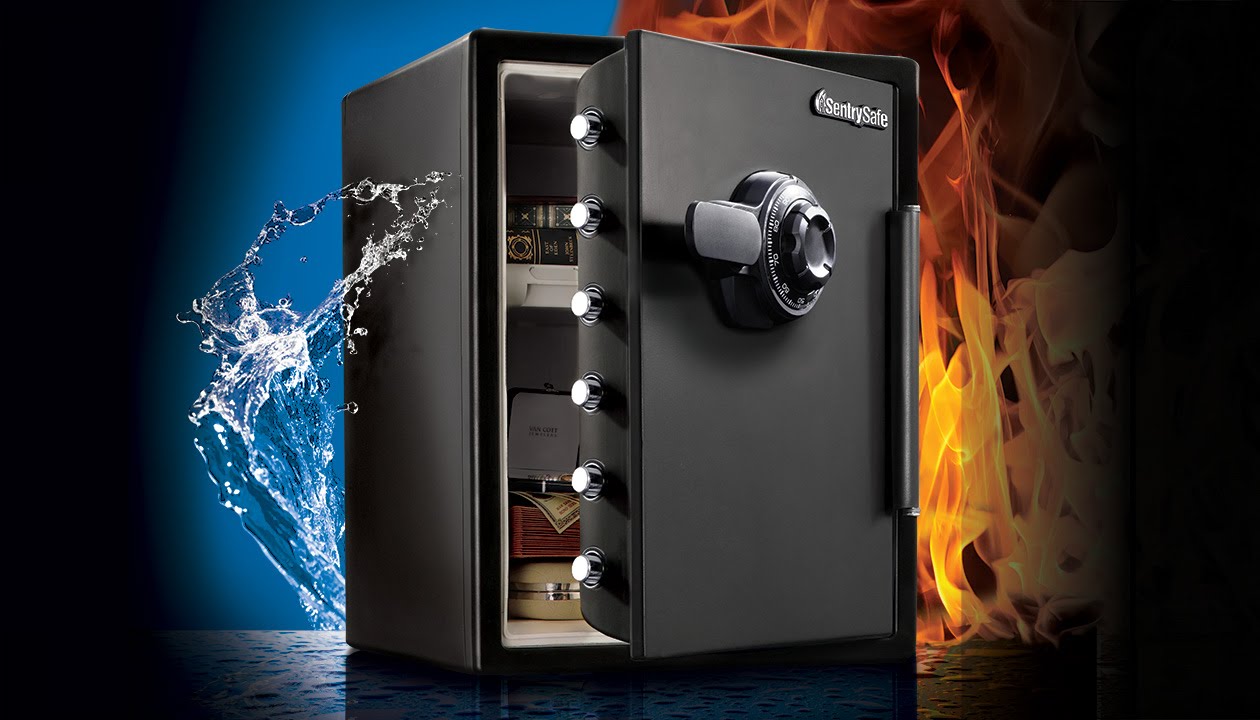
It meets UL standards for resisting a 15-foot drop and is ETL verified to withstand being submerged in 8 inches of water for up to 24 hours (except when drilled for mounting).
Furthermore, you can add even more peace of mind by enrolling in the SentrySafe Fire Protection Guarantee, which offers up to $50,000 of insurance on your property should the safe fail to protect them
Burglar-Resistant Safes
If you’ve got more to protect than documents and media, you’re gonna need a bigger safe (or at least a better one). While a fire safe is great for protecting your valuables from burning, they’re gonna crack open like a can of tuna to any burglar with the right tools.
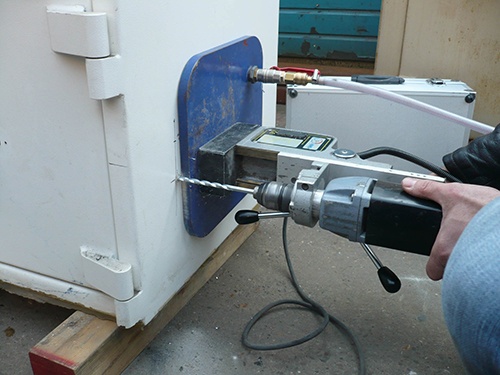
If you’ve got real valuables, like jewelry or cash, you’re going to want to invest in a burglar-resistant safe. These are made of steel and feature thinner walls than fire safes, and they are designed to withstand assault from tools like power saws, sledge hammers, and high speed drills.
They are also intended to be heavy so that they can’t just be carried off, and ideally they should be tied into your existing security system.
Burglar Safe Standards
Burglar safes are rated based on how long they were tested to withstand assault with a wide array of burglar tools. The Underwriters Laboratories standard minimum rating of TL-15, for example, means that the safe was unable to be cracked after 15 minutes of concentrated tool work with drills, hammers, carbide disc cutters, and other sophisticated burglary equipment. TL-30 would indicate that a safe withstood attack for 30 minutes. And so on.
Another standard that some safes include is torch resistance (TR), or the ability to withstand a cutting torch for a given number of minutes. A safe rated TRTL-30, for example, has been tested to withstand attack from burglar tools and a cutting torch for 30 minutes.
A final standard for the heaviest of safes indicates its resistance to explosives, indicated by TX. While you probably won’t need anything this serious, you never know. It all comes down to what you’re protecting.
AMSEC’s AmVault TL-30 Fire Rated Composite Safes
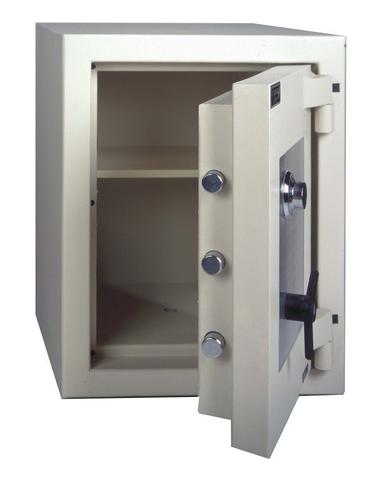
Here’s an example one safe that is rated for burglar and fire resistance. This TL-30 rated safe demonstrated the ability to hold up against the expert testers at Underwriters Laboratories for 30 minutes against their best efforts with power saws, carbide disc cutters, drills, and more.
The AmVault is also fire resistant, and suitable for use in both commercial and residential settings for the protection of your most valuable possessions.
Choosing the Best Burglar Safe
When it comes to choosing the best home safe for protection from burglars, you want to keep in mind the situation in which most thieves are trying to bust into a safe. Typically, they’re under pressure, keeping one eye out for law enforcement, and working in the dark as fast as possible as their nerves run wild. Basically, they are trying to break into a steel safe in the absolute worst conditions.
When these safes are quality rated, the tests are performed in the complete opposite situation. The room is well lit, the testers are under no pressure, and they’re equipped with the most powerful burglar’s tools. So, buying a TL-15 safe is probably fine for most home safes because 15 minutes is a long time for a burglar to be whacking away at a safe. If you’re really looking for security, though, go for a model rated for 30 minutes or more.
No matter how burglar-resistant your safe is, however, it won’t matter a bit if a home invader can just lug it away and work on it all night elsewhere. For this reason, if your safe weighs less than 750 pounds, it must be anchored to the floor or wall for maximum effectiveness.
Frequently Asked Questions About Safes
So, your main choices come down to fire safe or burglar safe, and the choice relies on exactly what it is you’re protecting. If it’s anything that a thief could potentially find valuable, spring for a burglar-resistant model.
As you consider the best home safe for your needs, the following FAQs might further help you make the right choice for you.
Is a Floor Safe Right for Me?
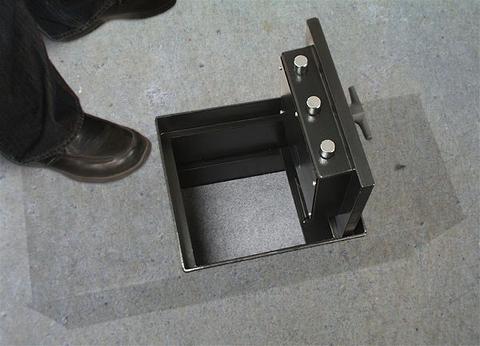
Floor safes are about as safe as safes can be. They are installed to be level with the floor and surrounded with at least 200 pounds of concrete, so they are near impenetrable and completely impossible to be carried away by a common criminal. Settled below the ground, floor safes are also easily concealable with a rug or even by being placed beneath a couch or dresser.
Floor safes are also especially resistant to fires because they are below ground level. This means that the fire can never really engulf them. They don’t heat easily, and popular locksmith lore holds that there has never been a loss by fire from a properly installed floor safe.
The primary disadvantage with floor safes are convenience and permanence. They are kind of difficult to access because you have to stoop to the ground, so they might not be a good choice if you have joint pains or are approaching old age. They’re also permanently installed in the floor, so you can’t take them with you if you move.
Should I Buy a Keyed Safe or a Combination Safe?
Keyed safes seem more convenient, but keys are easily lost and easily stolen. If a burglar breaks in and finds a keyed safe, the next thing he’ll hunt for is your keys.
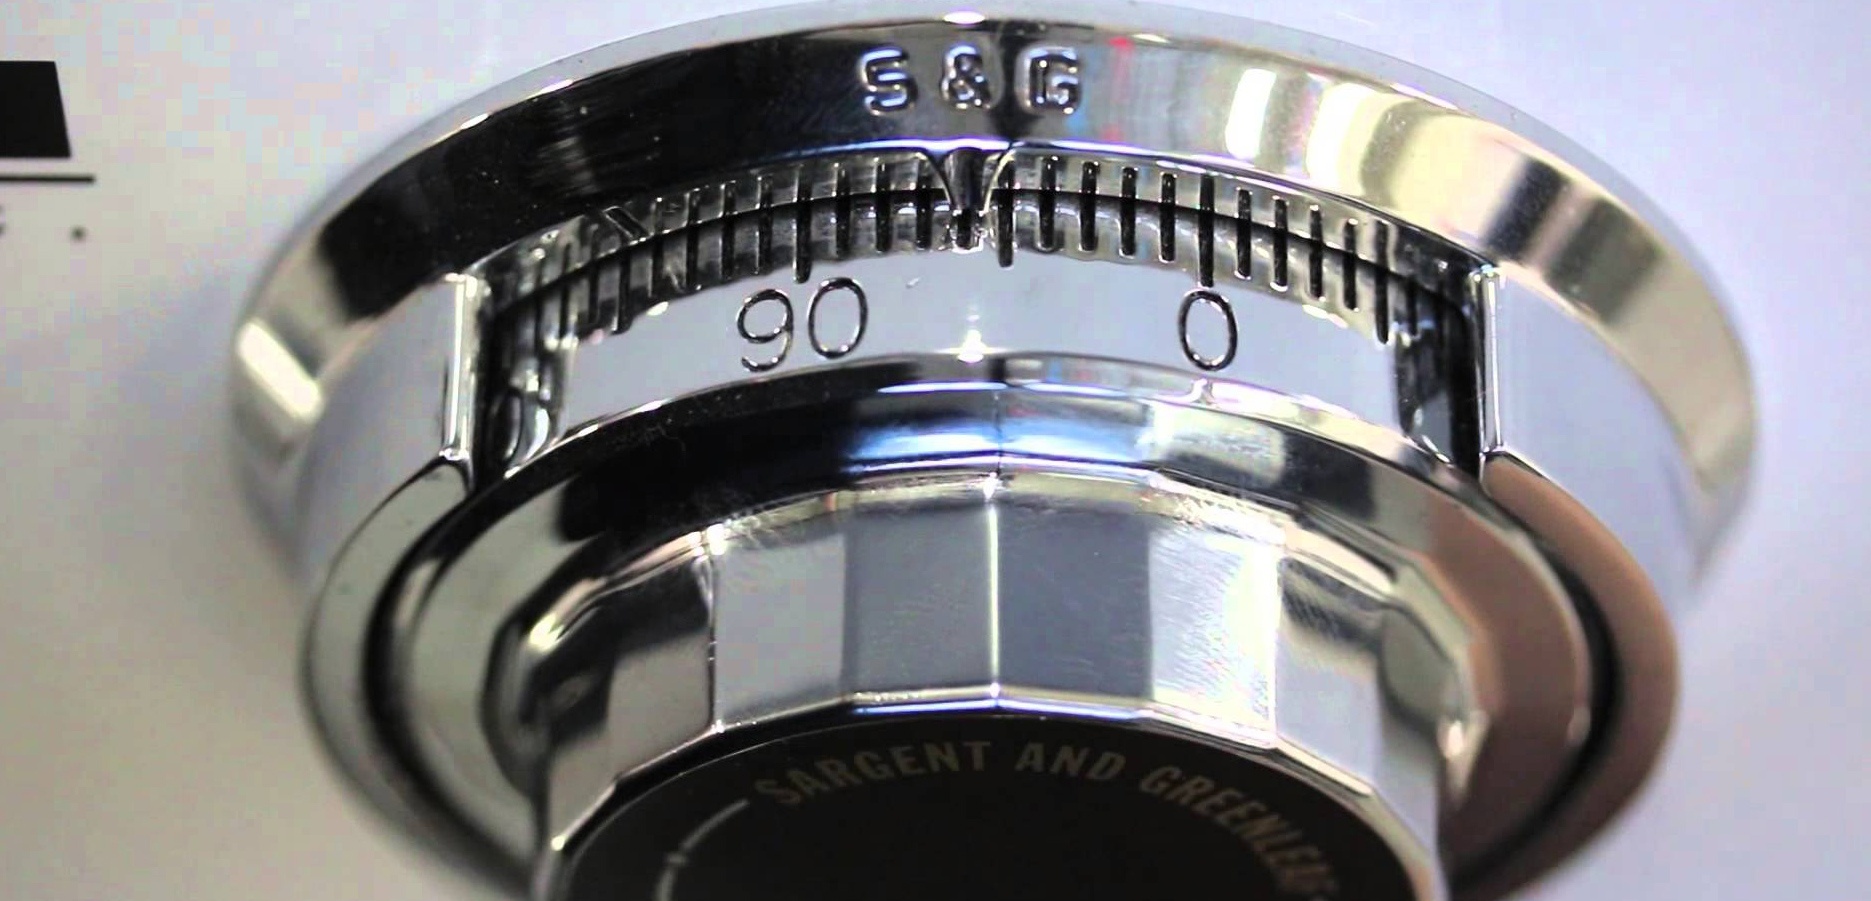
Combination locks, on the other hand are much harder to break into because a thief can’t steal or copy your combination the way they can your keys. Furthermore, you can change the combination as necessary when people move out or employees change.
While you might be annoyed at having to remember the combination, you can easily write it down disguised as a phone number (or pull a Walter White and buy a lotto ticket with your combo numbers).
Can a Burglar Break Into a Safe Through Other Methods?
The movies are filled with expert cat burglars cracking codes with stethoscopes or filing down their fingertips to feel the click of tumblers. But such gimmicks are simply for the silver screen.
In reality, the vast majority of safe jobs are clumsy and not premeditated. Burglars happen unsuspectingly on your safe and make a pathetic attempt to break in. At best, they might attempt to drill into or smash their way into the safe with basic tools.
The few safe jobs that are successful are likely the result of the owner failing to lock the safe or the burglar acquiring the combination somehow.
Are Bolted Hinges Secure?
You might think that you have to buy a safe with welded hinges because otherwise a burglar could just remove the hinges and crack the safe, right?
Wrong. Hinges work a little bit differently on burglar safes. They exist purely to hold the weight of the door when it’s open, but are not actually tied to the locking mechanism.
How Can I Learn More About Safes?
If you’re in the market for the best home safe, you want to talk to as many qualified professionals as possible. Find an expert locksmith to start with, and ask them for references. There’s no one better to learn about safes than from than someone who’s an expert at working with (and breaking into) locks.
Another great source of information is your insurance company. Your agent may be able to secure premium savings for you based on the security rating of your safe.
Find the Best Home Safe for You
We hope this guide on how to buy the best home safe has been as fun to read as it was to write. Remember that what it really comes down to is identifying what it is you need to protect and what it needs protecting from.
For some, a fire safe will do the trick. For others, burglar-resistant is the way to go. Those looking for maximum security may invest in a floor safe. But, whether the threat is fire or theft, your goods are only as safe as the safe they’re secured in.


![]() You can customize the color and brightness of the lighting in each room of your house. You’ll be able to optimize your home space for living, working, playing or relaxing.
You can customize the color and brightness of the lighting in each room of your house. You’ll be able to optimize your home space for living, working, playing or relaxing.![]() All smart bulbs have wireless technology, but some of them differ in terms of exactly what automation protocol they use. Some smart bulbs use Wi-Fi, others use Bluetooth connections. And some bulbs even give you the option of using Wi-Fi or Bluetooth, depending on your preference.
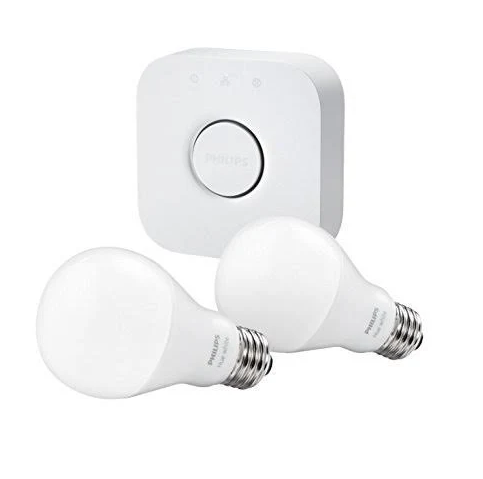
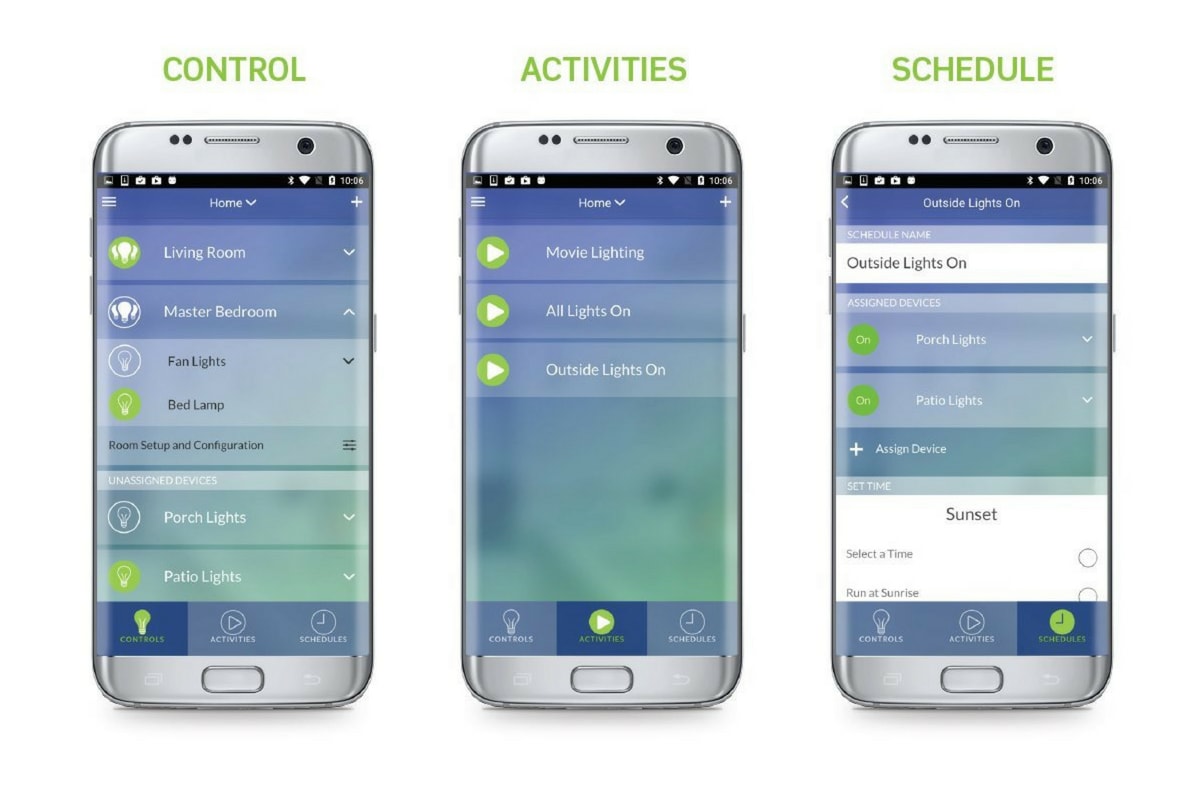
All smart bulbs have wireless technology, but some of them differ in terms of exactly what automation protocol they use. Some smart bulbs use Wi-Fi, others use Bluetooth connections. And some bulbs even give you the option of using Wi-Fi or Bluetooth, depending on your preference.![]() Hubs are especially useful if you want to set your smart bulbs up on a timer, or link them with a compatible doorbell camera. This way you can set your lights to come on at certain times, or when the doorbell rings.
Hubs are especially useful if you want to set your smart bulbs up on a timer, or link them with a compatible doorbell camera. This way you can set your lights to come on at certain times, or when the doorbell rings.

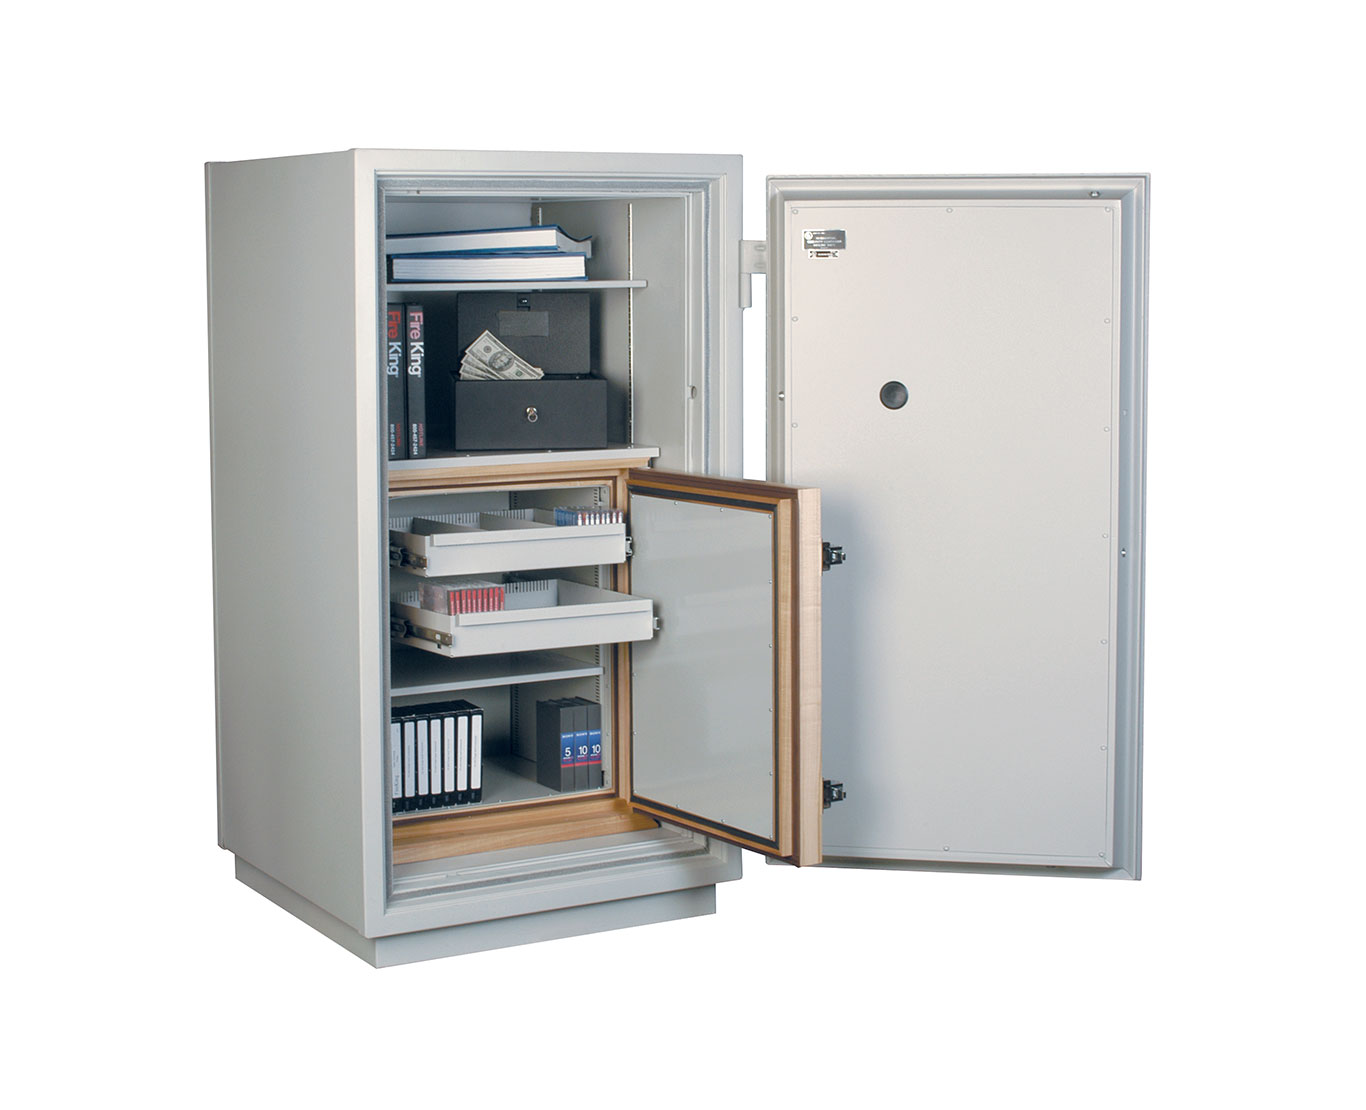
 Floor bolting hardware is included for additional security, but please note that mounting requires you to drill holes in the mounts, which will reduce the safe’s flood resistance.